

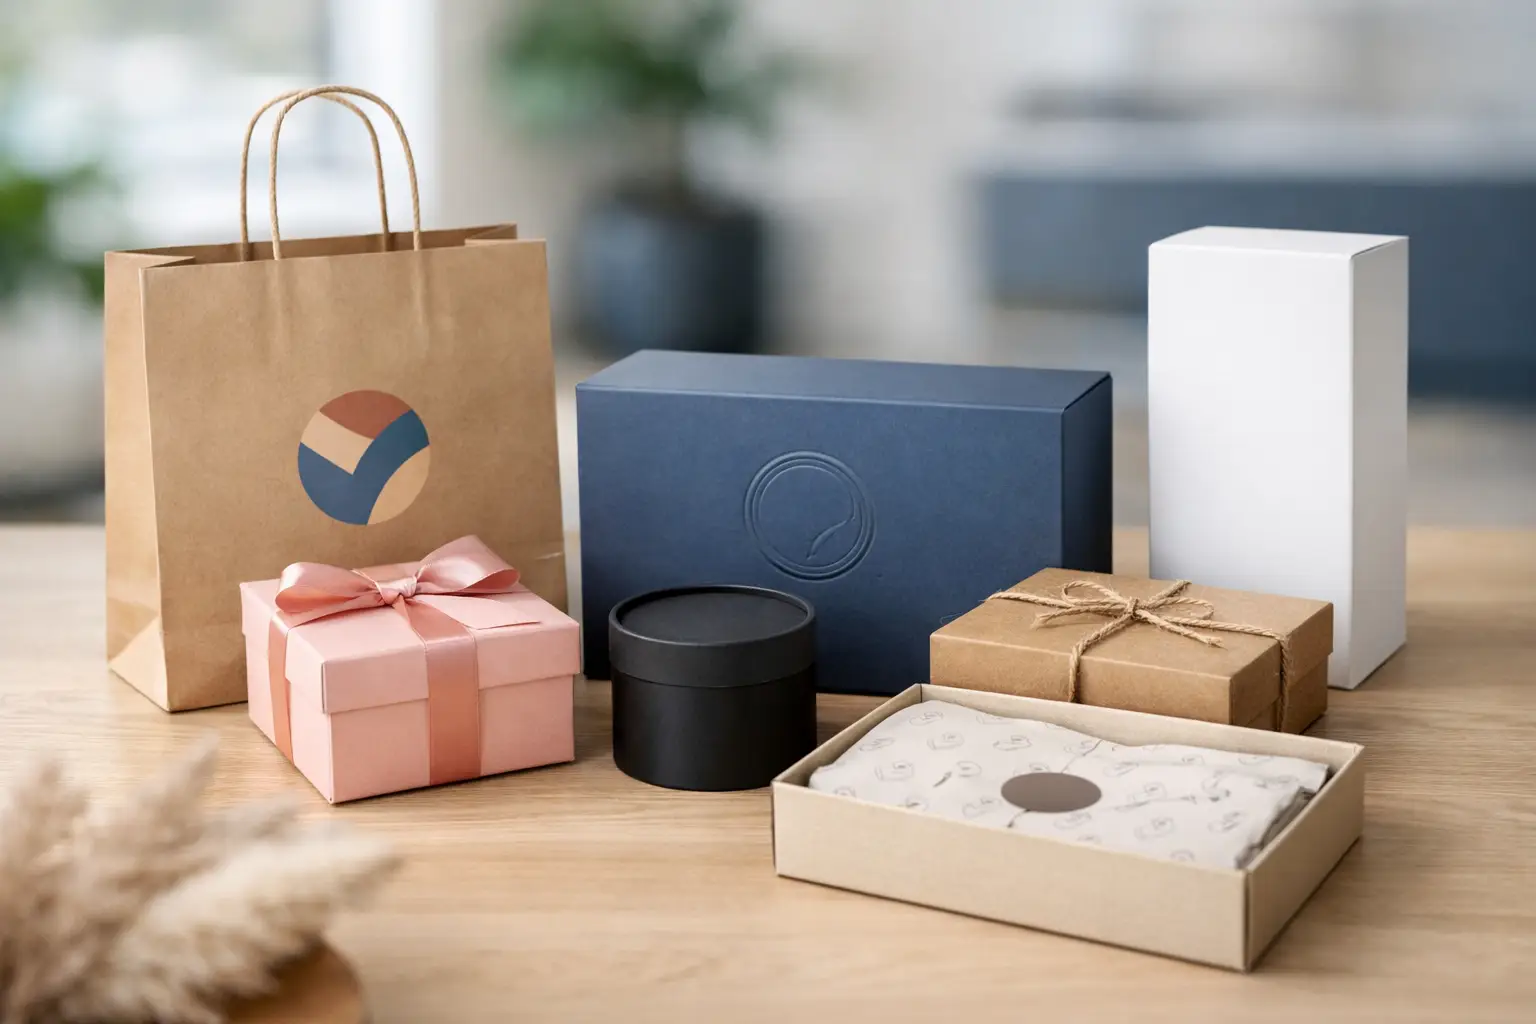
A plain shipping box gets a product from point A to point B. Branded packaging makes the delivery feel like it came from a real business with standards. If you are learning how to create branded packaging, start with the practical goal: protect the product, make the brand recognizable, and keep the cost workable at your order volume.
For a restaurant, that may mean printed takeaway bags, food labels, and tamper seals. For a retail store, it can be custom shopping bags, tissue paper, product boxes, and logo stickers. For online sellers, the priority is often a strong unboxing experience without paying for a fully custom box at low quantities.
How to create branded packaging for your product
Begin with the product, not the artwork. Measure the packed item, including any inserts, padding, or protective wrap. Packaging that looks premium but allows a product to move around can lead to damage, returns, and a poor customer experience.
Record the length, width, height, weight, and fragile points of the product. If you sell several sizes, decide whether one packaging size can serve multiple items. Standardizing box sizes usually reduces storage needs and makes reordering easier, but oversized packaging increases shipping cost and may look careless.
Next, determine how the package will be used. A boutique bag carried from a store needs sturdy handles and a clean logo presentation. A mailed product needs a corrugated shipping box or mailer with enough protection for handling. Food packaging may need grease-resistant stock, clear labeling space, and a closure that keeps contents secure.
Your packaging should answer three questions quickly: what is this brand, what is inside, and what should the customer do next? The answer does not have to appear in large text. A logo, a consistent color, a product label, and a small message can do the job.
Choose the right packaging format
The right format depends on the product, quantity, shipping method, and customer touchpoint. There is no benefit in ordering a rigid presentation box for a low-margin item that is normally delivered in bulk. Conversely, a luxury item can lose perceived value if it arrives in a thin, unbranded sleeve.
Paper bags work well for retail purchases, bakery items, event kits, and takeaway orders. Kraft paper gives a natural, economical look, while white paper provides a cleaner base for bright colors and detailed logos. Add a printed sticker when you need product-specific information without printing a different bag for every SKU.
Folding cartons are useful for cosmetics, candles, supplements, small electronics, confectionery, and boxed retail goods. They offer more printable area than a bag and can include product details, ingredients, handling instructions, barcodes, and brand graphics. Make sure the carton board and closure suit the product weight.
Corrugated boxes and mailers are built for e-commerce delivery. A custom printed outer box creates a strong first impression, but it is not always the best starting point for a new business. Branded tape, die-cut logo stickers, printed inserts, or a custom thank-you card can turn standard shipping packaging into a consistent brand experience at a lower entry cost.
For apparel, accessories, and lightweight products, poly mailers, tissue paper, hang tags, and sticker seals are often enough. For bottles, ceramics, or other breakable items, protection takes priority. Use void fill, dividers, or protective sleeves first, then add branded print elements where they will remain visible.
Build a packaging system, not one printed box
Businesses often make the mistake of designing each item separately. The result is a bag in one color, a box in another, labels with a different logo version, and inserts that do not match either. A packaging system keeps every piece recognizable even when formats change.
Set the core elements before ordering. Use one approved logo file, one primary color palette, and one or two fonts. Decide where the logo normally appears: centered on the front, repeated as a pattern, or placed near a handle or closure. Keep enough clear space around it so it remains readable.
Then decide which items need full-color printing and which can use a simpler method. One-color printing on a kraft bag can look professional and control costs. A full-color product box may be more appropriate when customers compare products on a retail shelf. Specialty finishes should support the brand position, not compensate for unclear design.
A practical packaging system may include a branded shopping bag, product labels, die-cut stickers, packing tape, thank-you cards, and a shipping insert. These pieces can be ordered at different quantities and replaced as stock runs low, while still presenting one consistent identity.
Select materials and print finishes with purpose
Material choice affects durability, print appearance, cost, and customer perception. Paper stock is commonly measured in GSM. Higher GSM usually means a thicker, firmer sheet, but the correct choice depends on the packaging type. A takeaway menu insert does not need the same stock as a premium gift box sleeve.
For printed cartons and inserts, matte lamination gives a smooth, low-glare appearance and helps protect the print. Gloss lamination makes colors appear more vivid and is often suitable for promotional packaging. Velvet lamination gives a soft-touch finish that suits premium cosmetics, corporate gifts, and high-value retail products, though it can add cost and may show scuffs more easily on dark colors.
Spot UV adds a raised glossy accent over selected areas, such as a logo, product name, or pattern. Embossing creates a physical raised impression. Both can improve shelf impact, but they work best with simple artwork and enough production budget. Small type, thin lines, and crowded layouts may not reproduce as cleanly as a bold logo or clear graphic shape.
Use spot colors carefully. A brand color that looks correct on a screen can shift when printed on kraft paper, coated stock, or uncoated stock. If color accuracy matters, request a proof or sample before placing a larger run. This is especially useful for businesses that use the same color across business cards, storefront signage, uniforms, promotional products, and packaging.
Prepare artwork that prints correctly
Packaging artwork is not the same as a social media graphic. It must fit a specific dieline, account for folds and glue areas, and leave safe margins around important text and logos. Ask for the packaging template before finalizing the design.
Build files at the required size and include bleed, usually extending artwork beyond the cut edge. Keep text, barcodes, QR codes, and key graphics inside the safe area. A design that looks balanced on a flat screen may shift visually when folded into a carton, so review the panel order and orientation carefully.
Use high-resolution images and vector logo files whenever possible. Vector files such as AI, EPS, PDF, or SVG remain sharp when scaled. Low-resolution screenshots and compressed web images can print soft or pixelated, particularly on large-format packaging or signage.
Before approving production, check spelling, phone numbers, social handles, ingredient statements, pricing, and product variations. Packaging errors are expensive because the same error is repeated across the full run. A second review from someone who did not create the design is usually worth the extra time.
Add useful details without overcrowding the design
The front of a package does not need to carry every piece of information. Prioritize the logo, product name, and one clear visual message. Move instructions, warnings, ingredients, sizing, care details, and contact information to side or back panels where appropriate.
For e-commerce orders, a small insert can handle information that would clutter the box. It can include a reorder message, care instructions, a promotional offer, or a request to share the purchase. This is also easier to update than a fully printed box when your campaign, pricing, or product range changes.
Labels are particularly useful for businesses with many flavors, sizes, colors, or seasonal products. Keep the main box or bag consistent, then use printed labels to identify the variation. This reduces the need for separate packaging inventory for every product.
Order in quantities that match demand
Custom packaging has a quantity trade-off. Larger runs often reduce the unit price, but unused boxes take up space, tie up cash, and become obsolete when a logo, address, or product detail changes. Startups and seasonal businesses should usually avoid ordering far beyond their realistic sales volume.
A good approach is to invest first in reusable brand elements: stickers, printed tissue, inserts, standard bags, and labels. Once sales patterns are stable, move high-volume products into custom printed cartons or mailers. Seaonce can support this mix with packaging print, labels, business stationery, signage, apparel, and promotional items from one ordering source.
Also consider how your packaging will be packed and shipped. A complex fold, delicate finish, or oversized box may look impressive but slow down fulfillment. Test the full process with a sample order: pack the item, seal it, carry it, ship it, and open it as a customer would.
The best branded packaging is not the most decorated option. It is the package that protects the product, looks consistent at every touchpoint, and makes customers remember who sent it.