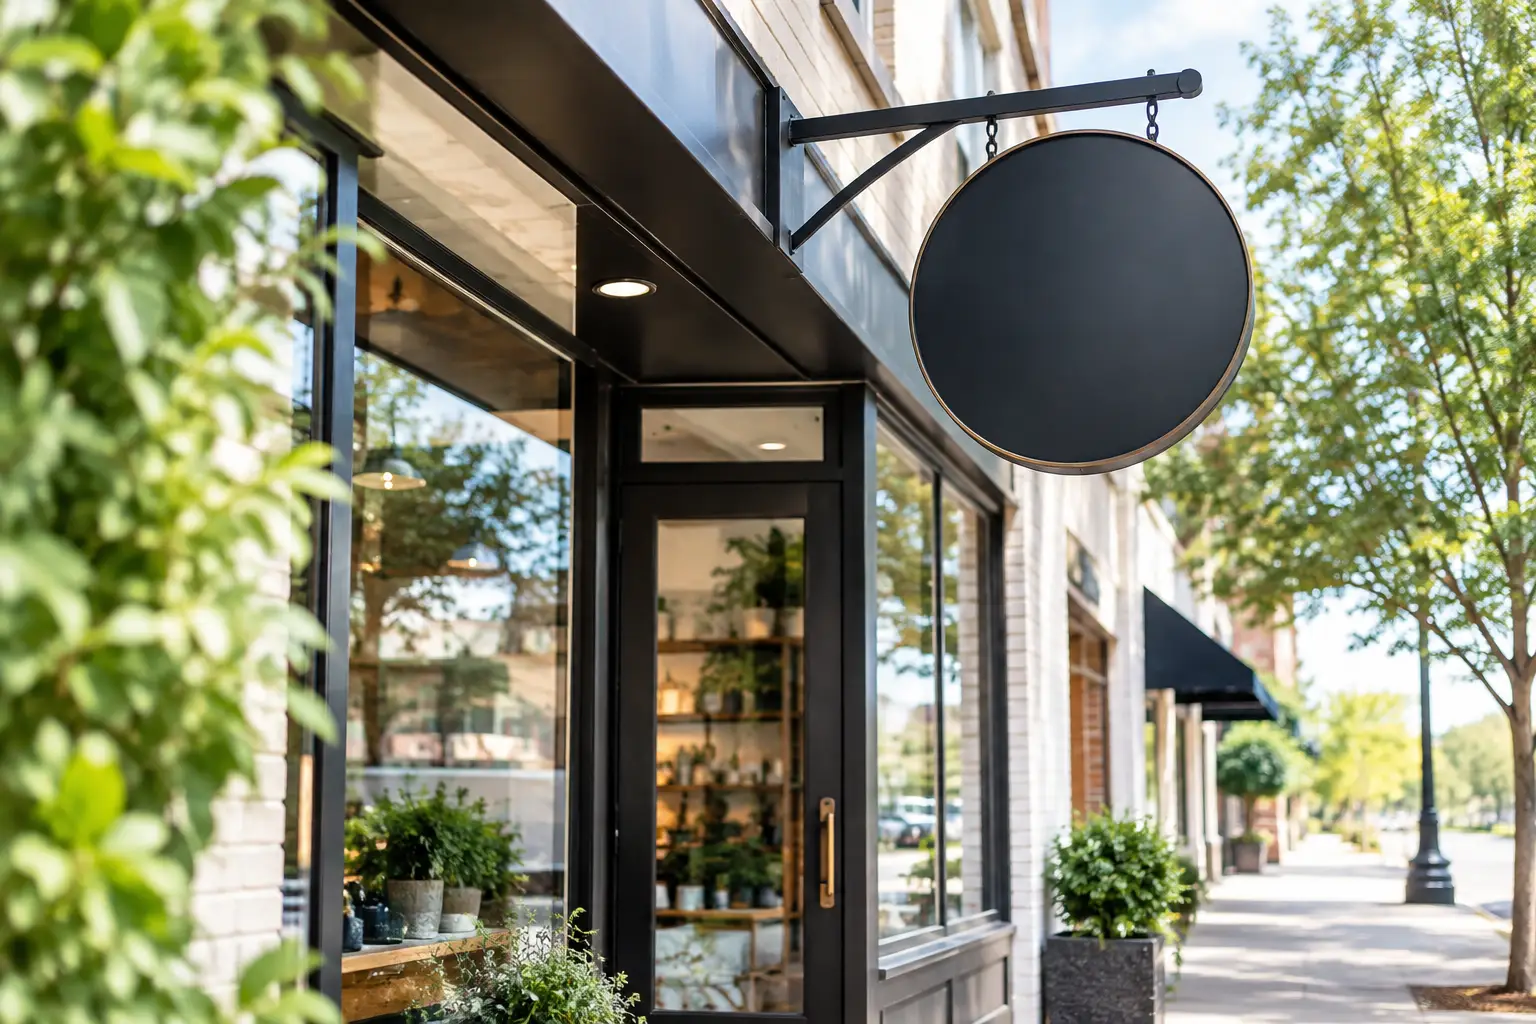
A storefront sign has a short job: help a customer find you, understand what you sell, and feel confident enough to walk in. The best outdoor storefront signs do that from the right distance, in the right light, and through rain, heat, wind, and daily street traffic. A sign that looks good only in a product mockup is not a good business investment.
For local retailers, restaurants, salons, clinics, offices, and service businesses, the right choice depends on your building, local sign rules, viewing distance, operating hours, and budget. Permanent illuminated signage may be the right fit for one location, while a weatherproof banner or sidewalk sign may produce better results for another.
Start With Location, Not Sign Style
Before selecting materials, look at how customers approach your business. A shop on a busy road needs a sign that can be read quickly from moving traffic. A business inside a walkable retail district may need more pedestrian-focused graphics near the entrance. If your storefront is set back from the street, visibility matters more than decorative detail.
Measure the available sign area and consider obstructions such as trees, awnings, neighboring signs, parking spaces, and utility poles. Also check whether customers approach from one direction or both. A projecting blade sign, for example, can be easier to see along a sidewalk than a flat wall sign.
Your lease, landlord, city zoning office, or property manager may set limits on size, lighting, placement, and installation. Check these requirements before finalizing artwork. A premium sign is not useful if it must be redesigned to meet a building rule.
Best Outdoor Storefront Signs by Business Need
There is no single best material for every storefront. The most effective option is the one that matches how people see and use your location.
Channel Letters for Long-Term Brand Visibility
Channel letters are individually fabricated letters, often made from aluminum and acrylic, mounted directly to a wall or raceway. They are a strong option for established businesses that need a polished, permanent exterior identity. Front-lit channel letters create visibility after dark, while halo-lit letters provide a more upscale backlit effect.
This option works especially well for restaurants, medical offices, retail stores, gyms, and franchises with consistent branding. The trade-off is cost. Fabrication, electrical work, mounting, permits, and professional installation make channel letters more expensive than printed signage. They are best when the location is stable and the brand will remain in place for several years.
Illuminated Cabinet Signs for High Visibility
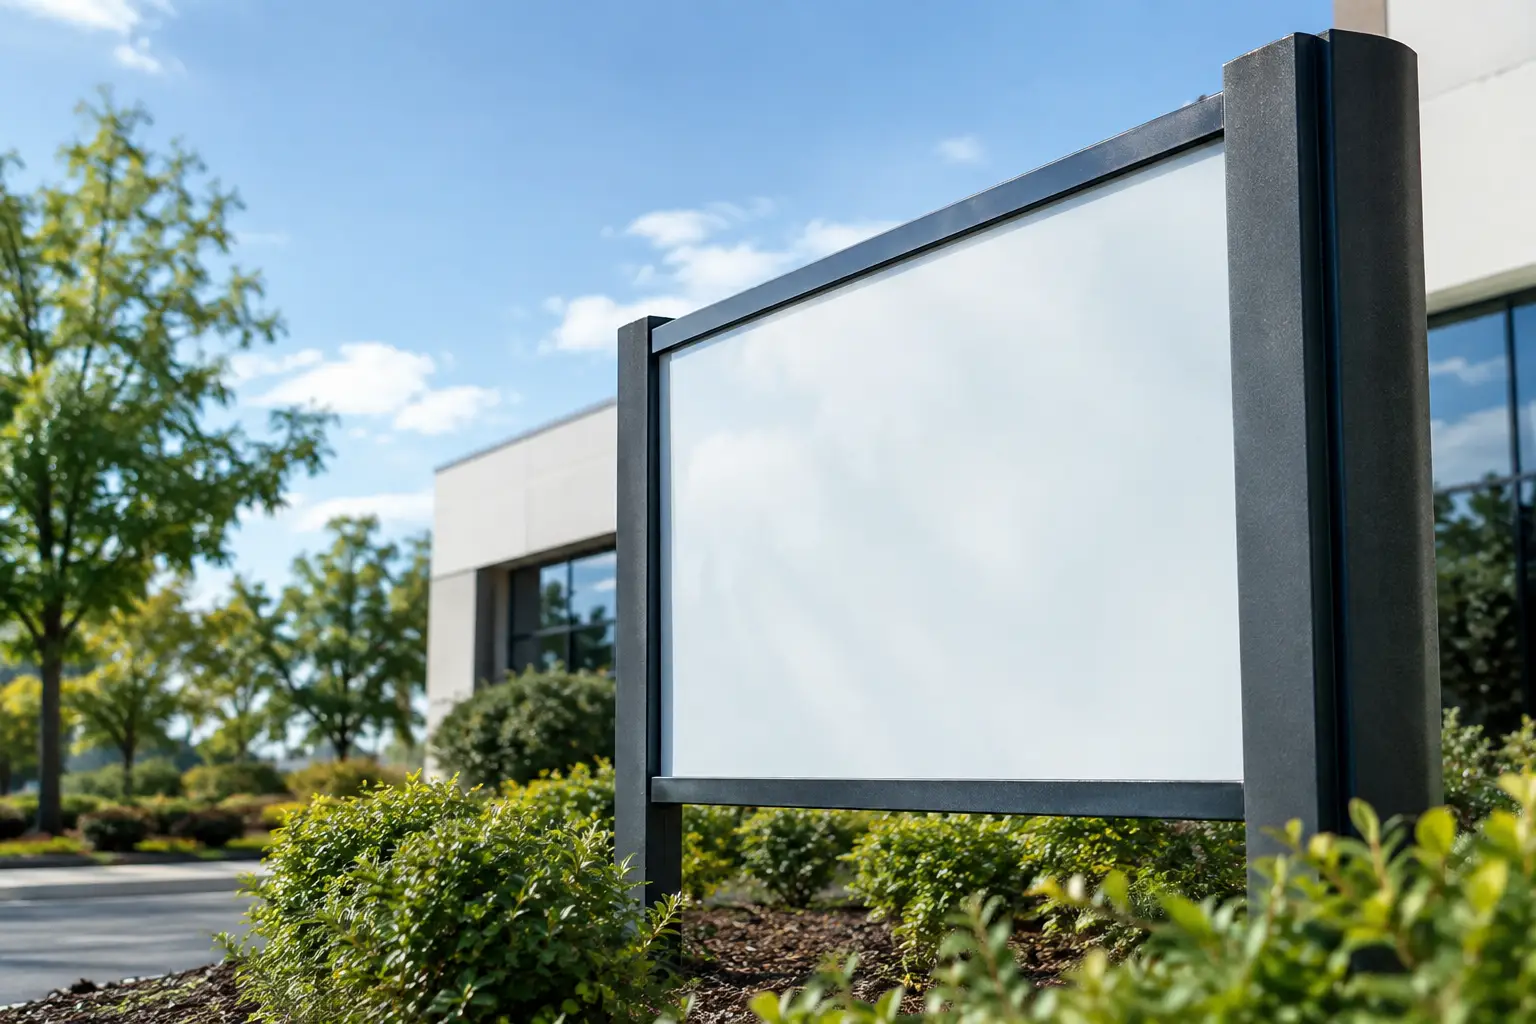
An illuminated cabinet sign uses an internal light source behind a printed or routed face. These signs can display a logo, business name, phone number, or category message such as “Auto Repair” or “Open 24 Hours.” They are practical for businesses that operate at night or sit near high-traffic roads.
Cabinet signs are usually more economical than individual channel letters when you need a large illuminated display. However, their appearance can be less refined if the design is crowded. Keep the message simple, use high-contrast colors, and make sure text remains readable from the farthest expected viewing distance.
Aluminum Composite Signs for Durable Daytime Use
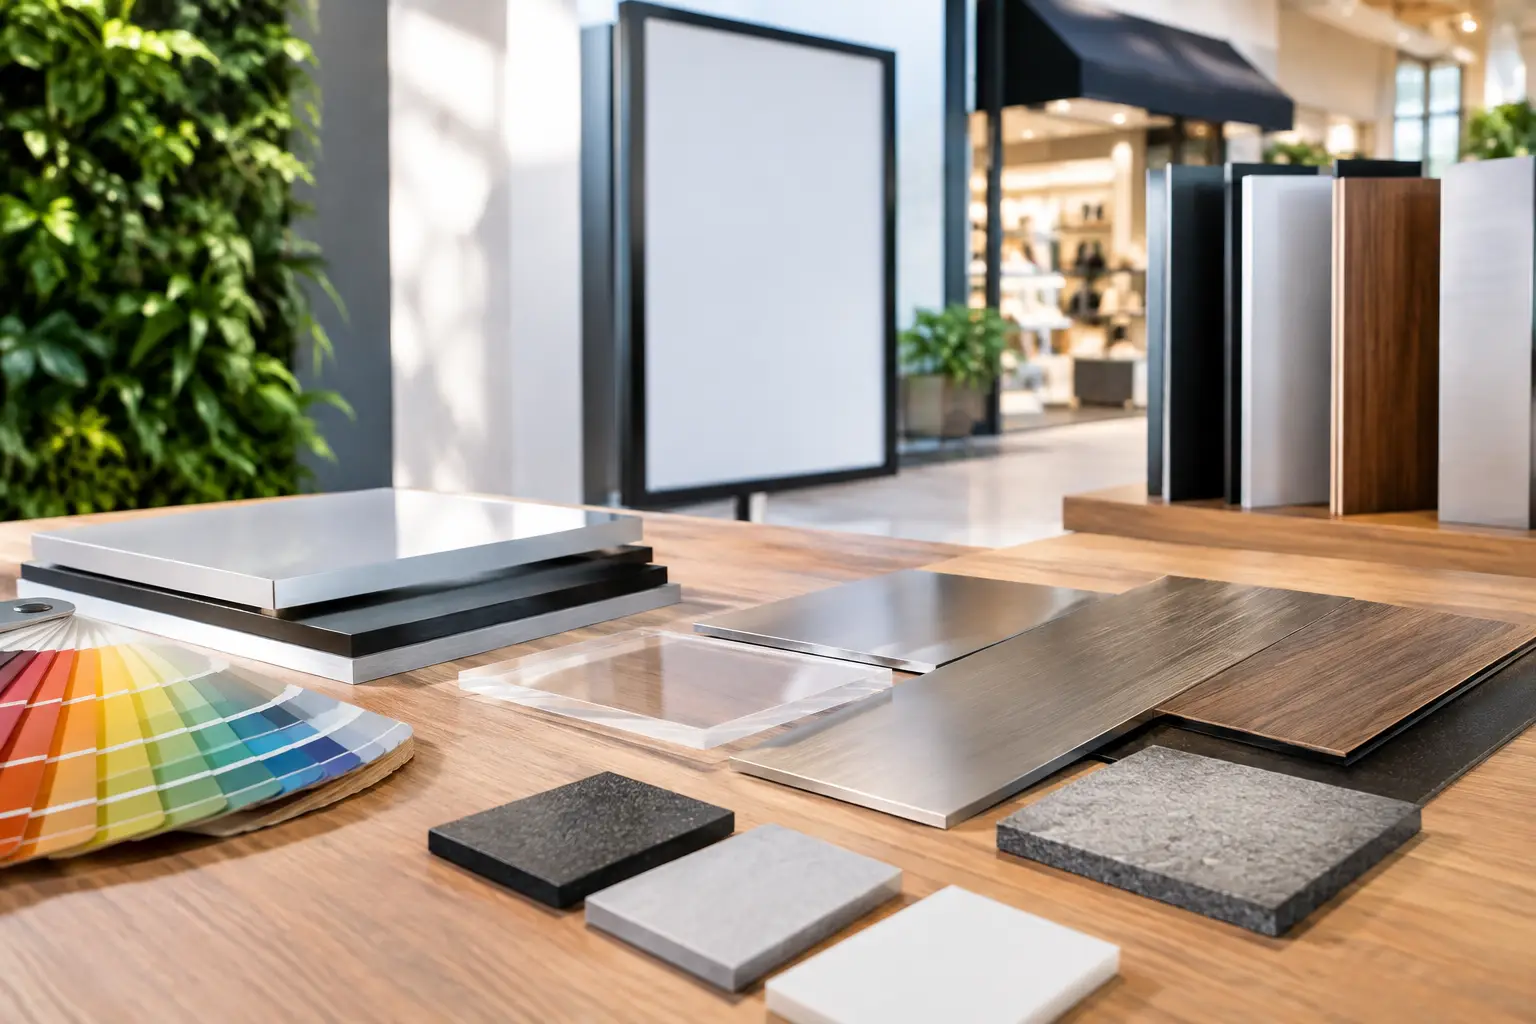
Aluminum composite material, commonly called ACM, consists of aluminum sheets bonded around a solid core. It is rigid, flat, and suitable for outdoor wall signs, parking signs, directional panels, and building identification. Printed ACM signs are a practical choice when lighting is not essential but durability is.
For storefront use, a full-color printed ACM panel can carry a logo, business name, services, operating hours, or suite number. Add a UV-protective finish or lamination when the sign will receive strong sun exposure. This is a cost-effective option for professional offices, warehouses, salons, clinics, and retail units in plazas.
Vinyl Banners for Promotions and New Openings
Outdoor vinyl banners are one of the most flexible storefront sign products. They are ideal for grand openings, seasonal sales, event announcements, clearance promotions, construction notices, and temporary business identification. A banner can be produced in custom sizes and finished with hemmed edges, grommets, pole pockets, or reinforced corners depending on installation needs.
Use a heavier outdoor banner material when the sign will be displayed for extended periods. Wind matters. Large solid banners can act like sails, so secure mounting is essential. For exposed areas, mesh banner material may reduce wind pressure while keeping the message visible.
Banners are affordable and fast to update, but they should not replace permanent signage for a business that needs a high-end, fixed storefront presence. Treat them as promotional tools or temporary solutions, not always as a long-term brand asset.
A-Frame Signs for Walk-In Traffic
A-frames, also called sidewalk signs, are built for foot traffic. Place one near an entrance, along a permitted sidewalk, or in front of a retail unit to promote daily specials, appointments, limited-time offers, menu items, or directional messages. Cafes, restaurants, boutiques, salons, real estate offices, and event venues often get strong value from this format.
The advantage is flexibility. You can change printed inserts or write new messages on a chalkboard-style surface. The limitation is visibility distance. An A-frame will not replace a main building sign, but it can capture attention from people already nearby. Always confirm local sidewalk and accessibility rules before placing one outside.
Window Graphics for Storefront Space You Already Have
Window graphics turn unused glass into branded sign space. Perforated window film can provide one-way visibility from the inside while displaying graphics to people outside. Vinyl decals work well for logos, store hours, QR codes, payment methods, and short service messages. Frosted film can add privacy while maintaining a clean, professional appearance.
Window signage is especially useful when exterior mounting is restricted or when a business needs a lower-cost upgrade. Avoid covering every window with dense graphics. Natural light and sightlines still matter, particularly for restaurants and retail spaces. Use the glass to support the main sign, not compete with it.
Design Rules That Improve Sign Readability
A storefront sign should be understood in seconds. Use your business name as the dominant element, followed by a short descriptor only if it helps explain the business. For example, a distinctive salon name may need “Hair Studio” beneath it, while a clearly named pizza restaurant may not need extra copy.
Choose typefaces that remain readable at a distance. Thin script fonts, tightly spaced letters, and low-contrast color combinations often fail outdoors. Dark letters on a light background or light letters on a dark background generally provide stronger readability. If brand colors are close in value, add a contrasting outline or background panel.
Do not put every service on the main storefront sign. A sign with a logo, phone number, website, social handle, eight services, and three promotional claims becomes difficult to read. Save detailed information for window decals, banners, flyers, postcards, or directional signs.
For printed products, provide high-resolution artwork and use vector logo files when available. Vector artwork keeps logos and lettering sharp at large sizes. If you only have a small web image, ask for artwork review before production rather than stretching a low-resolution file across a large panel or banner.
Material, Finish, and Installation Details
Outdoor signs need materials selected for exposure, not just appearance. UV inks and UV lamination help reduce fading. Aluminum and ACM resist moisture better than paper-based board materials. Cast vinyl is often preferred for long-term decals and contoured surfaces, while calendared vinyl can be suitable for shorter-term graphics and flat applications.
Lamination can add scratch resistance and make printed colors easier to maintain. Gloss lamination makes colors appear more vivid, while matte lamination reduces glare. For a storefront facing direct sun or headlights, matte may improve readability even if gloss looks brighter at close range.
Installation is part of the product decision. A lightweight banner can be installed with grommets and hardware, but channel letters, cabinets, and large rigid panels may require mounting brackets, electrical connections, and professional installation. Factor those costs into the initial budget. The lowest product price is not always the lowest completed sign cost.
Build a Sign Package Instead of Buying One Sign
Many businesses get better results by combining one primary sign with supporting pieces. A wall-mounted ACM sign or illuminated sign establishes the location. Window decals communicate hours and services. An A-frame promotes what is happening today. Banners handle sales, launches, and events without forcing changes to the permanent sign.
This approach also makes reordering easier. Keep brand colors, logo files, typefaces, and standard sign sizes consistent across every item. Seaonce customers can source printed banners, stickers, window graphics, promotional materials, and other branded print products through one ordering process rather than splitting routine needs across multiple vendors.
The best choice is the sign that customers can read before they pass your door, recognize after business hours, and connect with the experience inside. Start with the visibility problem at your location, then choose the material and format that solves it without paying for features your business will not use.