

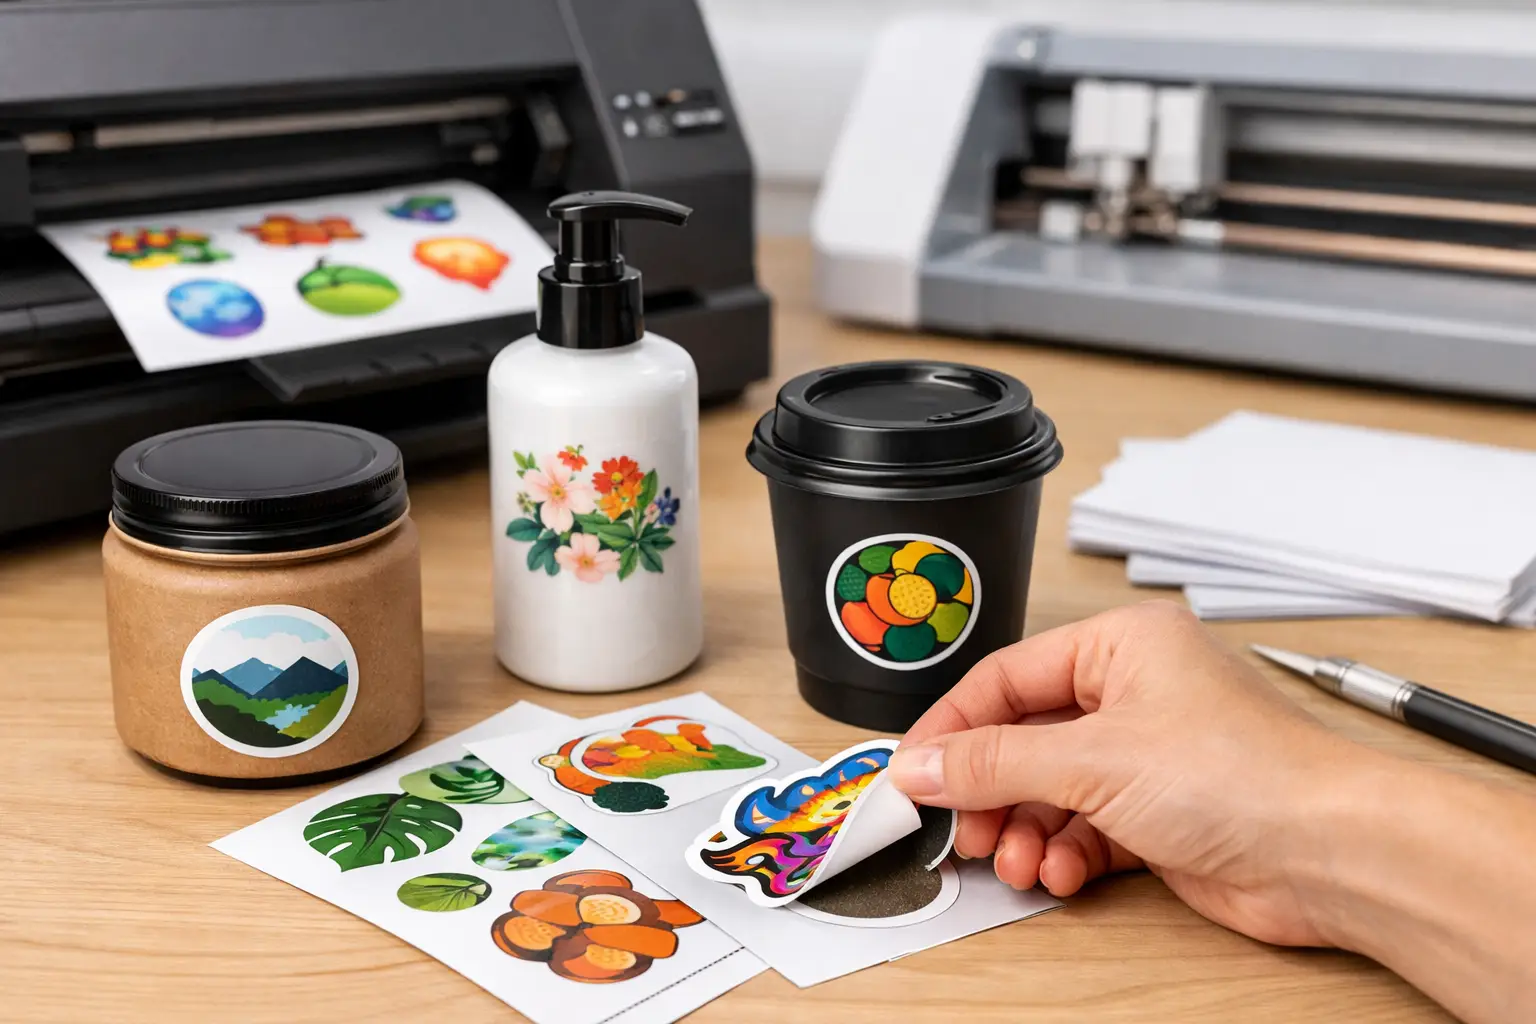
A product sticker has a small job with a large effect: it identifies the item, carries required information, and makes the packaging look ready for sale. Knowing how to print custom product stickers starts with choosing specifications that match where the label will be used. A premium-looking matte sticker is not always the right choice for a chilled beverage bottle, and a small circular label may not hold the ingredients, barcode, and handling details your product needs.
For retail products, takeaway packaging, jars, boxes, pouches, and promotional items, the best sticker is the one that applies cleanly, stays in place, and keeps the design readable through normal handling. Start with the product and the application conditions before selecting a size, stock, or finish.
Define What the Sticker Needs to Do
Before opening a design file, decide whether the sticker is primarily a brand seal, a product label, a price label, or a combination of all three. This decision affects its size, material, and layout.
A simple logo seal for tissue paper or shopping bags can be small and die-cut in a custom shape. A food jar label usually needs more room for the product name, flavor, ingredients, net weight, storage instructions, and a barcode. Labels for cosmetics, candles, supplements, or cleaning products may also require warnings, batch details, or compliance information. Do not force too much copy into a sticker just to keep the size small. A crowded label is harder to read and can make a product look less professional.
Measure the actual application area. For a bottle, measure the straight section rather than the full circumference, especially if the container tapers. For a box or pouch, leave a visible margin around the sticker so it does not look cramped or overlap folds, seams, or closures. If you are applying labels by hand, choose a size that is easy to align consistently.
Choose the Right Sticker Shape and Size
Standard shapes are usually the fastest option for recurring product runs. Square, rectangle, circle, and oval stickers suit most packaging formats and make layout planning straightforward. Rectangular labels work well for ingredient panels, address labels, and product details. Circular labels are popular for lids, jars, candles, and brand seals.
Die-cut stickers are cut to the outline of your design. They are useful when your logo, illustration, or product identity depends on a distinctive contour. A die-cut shape can create a stronger shelf presence, but very thin points, tiny internal cutouts, and complex edges may be less practical for fast application. Keep the cut line smooth and avoid shapes that are likely to lift at narrow corners.
When choosing a size, print one full-scale paper sample and place it on the actual product. This quick check can reveal problems that are easy to miss on screen, such as a logo wrapping around a bottle edge or text becoming too small once the label is applied.
Select Sticker Material for the Product Environment
Material selection should be based on handling, moisture, surface type, and expected lifespan. Paper stickers are a cost-effective option for dry indoor products, boxes, bags, and temporary promotions. They are suitable for many retail applications where the label will not face water, refrigeration, oil, or frequent abrasion.
For bottles, chilled products, bathroom items, outdoor use, or packaging exposed to moisture, consider a more durable synthetic option such as vinyl or PVC sticker stock. These materials generally handle water and handling better than standard paper. The exact choice still depends on the adhesive, the surface, and whether the item will be refrigerated, frozen, or exposed to heat.
A glossy finish can make colors and photographs appear more vibrant. Matte finishes reduce glare and give a softer retail look, which works well for premium foods, cosmetics, and minimalist branding. Lamination adds another layer of protection and can improve resistance to scuffs. It adds cost, so it is most useful where durability or a specific presentation matters.
Test labels on difficult surfaces before committing to a large run. Textured cardboard, curved glass, low-energy plastics, waxed surfaces, and cold containers can all affect adhesion. A sticker that performs well on a smooth carton may not hold the same way on a chilled plastic bottle.
Set Up the Design File Correctly
Good printing begins with a production-ready file. Build the artwork at the final sticker size and use high-resolution images. For print, 300 DPI at actual size is the standard target for photos, illustrations, and raster graphics. A low-resolution logo may look acceptable on a phone screen but print soft or pixelated.
Use CMYK color mode for print files. RGB colors are made for screens and can shift when converted for commercial printing, particularly bright blues, greens, and fluorescent-looking colors. If an exact brand color is essential, provide the correct color reference and request the appropriate production option. Color expectations should be realistic: the same color can look different on matte paper, glossy stock, and vinyl.
Leave a bleed area around artwork that reaches the edge of the sticker. Bleed gives the printer extra image area beyond the cut line, preventing thin white edges caused by small cutting tolerances. Keep text, logos, barcodes, and important design elements inside a safe margin from the edge.
For a clean handoff, your artwork should include these checks:
- Final trim size and sticker shape
- CMYK colors and 300 DPI image resolution
- Bleed on edge-to-edge backgrounds or images
- Safe margins around text and critical details
- Outlined fonts or embedded fonts in the supplied file
- A clear cut contour for custom die-cut sticker shapes
PDF files are commonly preferred because they preserve layout, fonts, and vector artwork. AI, EPS, and print-ready vector files are also useful for logos and die-cut designs. If you are unsure whether the artwork is ready, inspect the PDF at 100% zoom and read every line of small copy before ordering.
Keep Small Text, Barcodes, and QR Codes Practical
A product sticker can carry a surprising amount of information, but print has physical limits. Avoid using extremely small text for ingredients, directions, terms, or warning statements. Thin typefaces may fill in or lose clarity on certain stocks and finishes. A simple sans-serif font at a readable size is often the safer choice for functional copy.
Barcodes need adequate contrast and clear space around them. Black bars on a white background remain the most reliable choice. Do not place a barcode over a pattern, metallic effect, photograph, or dark color. Test-scan a printed sample with the type of scanner your retailer or fulfillment operation uses.
QR codes also need contrast, a clear border, and enough physical size to scan from a normal phone distance. Generate the code at high quality and test it after printing, not only from the digital artwork. If the code leads to a product page, menu, registration form, or promotion, verify that destination before the full run goes to print.
Match Quantity and Format to Your Workflow
Think about how often the product label changes. If you are testing a new flavor, seasonal item, event giveaway, or startup product, a smaller run reduces the risk of holding outdated labels. For established items with stable packaging and repeat demand, larger quantities can lower the per-sticker cost and simplify reordering.
Sheet stickers are practical for small batches and hand application. Roll stickers are often better for higher-volume labeling because they can be peeled quickly and may work with manual dispensers or labeling equipment. The right format depends on your packing workflow, not just the number of labels ordered.
If your business needs stickers alongside boxes, menus, flyers, branded bags, signage, or promotional items, ordering related print products through one supplier can also keep visual details more consistent. Seaonce offers sticker formats and other business print products for this type of recurring procurement.
Review the Proof Before Production
The proof stage is where costly errors are prevented. Check spelling, dates, phone numbers, website addresses, ingredient details, product variants, and net weights. Confirm that the correct flavor, scent, size, or SKU is shown. Look closely at margins, alignment, and the placement of any cut line.
If the sticker is part of a packaging system, review it next to the box, bottle, pouch, or bag it will be used on. A label can look balanced by itself and still conflict with an existing package color or printed design. When possible, apply a physical test sticker and check it after 24 hours, especially for refrigerated, curved, or frequently handled products.
Your product sticker should make packing easier, not create a quality-control problem. Select a practical size, use material that suits the environment, prepare a clean print file, and test the result on the real product. That extra check is what turns a label from a decoration into a dependable part of your packaging operation.