

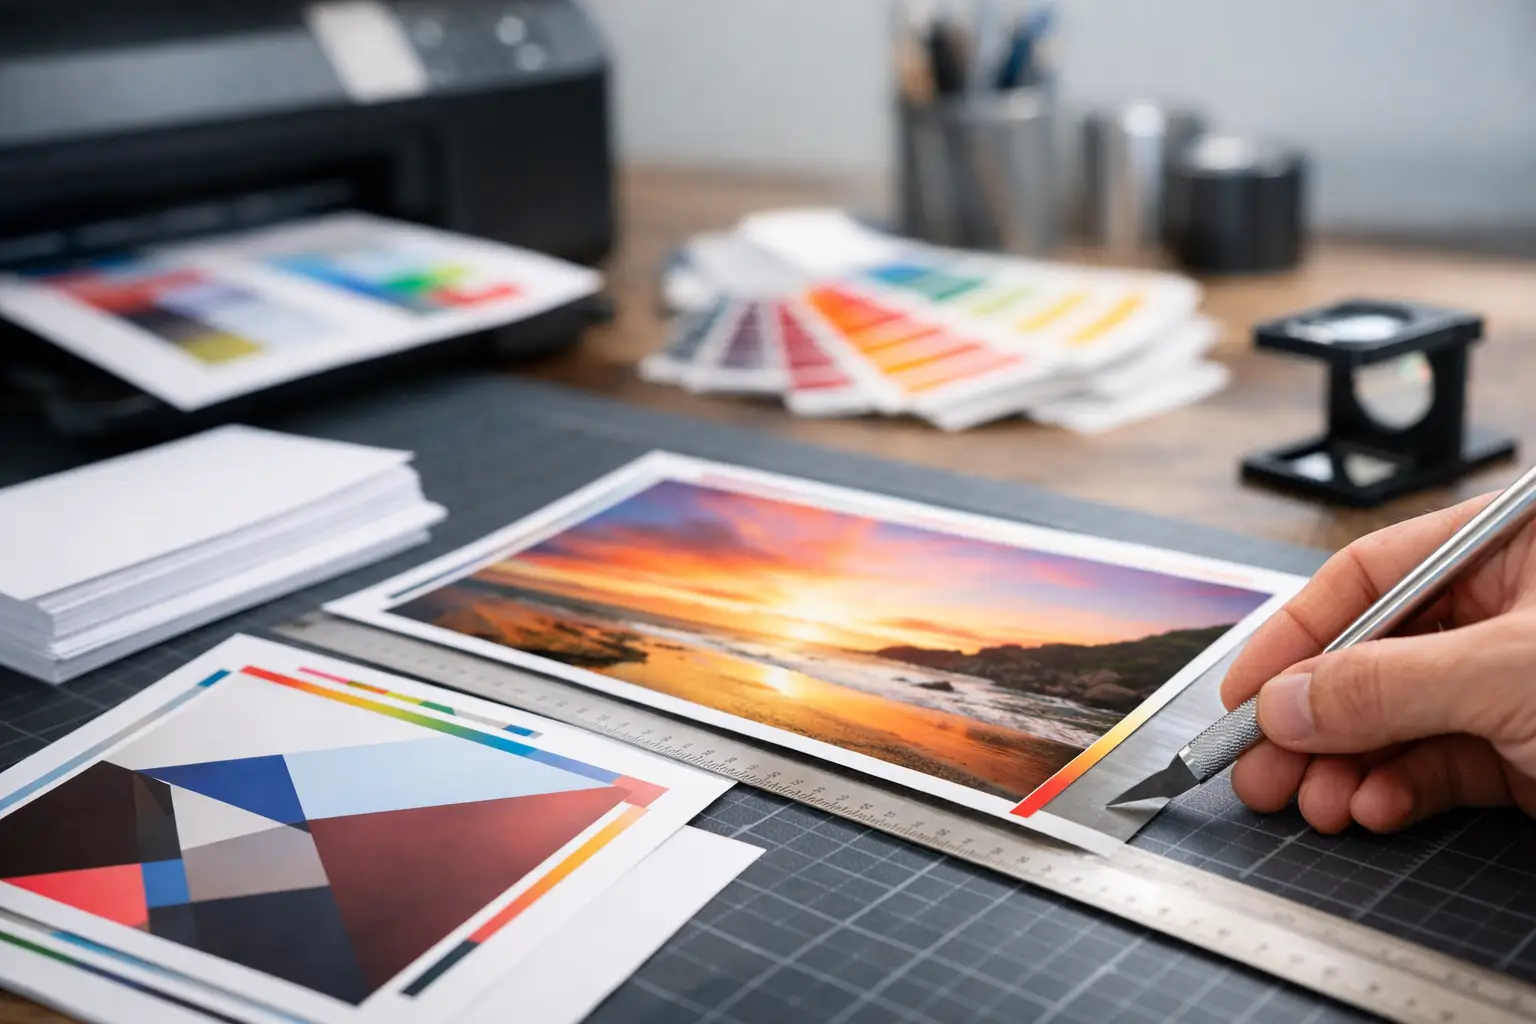
A business card with a full-color background should look finished from edge to edge. A flyer with a border should look even on every side. When either comes back with thin white lines around the outside, the usual cause is missing bleed. So, what is bleed printing? It is the extra image area added beyond the final trim size of a printed piece to allow for normal cutting movement during production.
Bleed is a standard setup requirement for business cards, postcards, brochures, menus, stickers, packaging, and many other products where ink, photos, patterns, or color blocks reach the edge. It is not a special finish and does not increase the final size of your product. It is simply extra artwork that gets trimmed away after printing.
What Is Bleed Printing and Why Does It Matter?
Commercial printing is produced on larger sheets, then cut down to the finished size. Even modern cutting equipment has a small tolerance. If artwork stops exactly at the trim line and the cut shifts slightly, a narrow unprinted edge can show.
Bleed gives the cutter room to work. Your background color, photograph, texture, or pattern extends past the intended edge, so a minor shift still leaves printed color at the final edge. The result is a cleaner, more professional-looking piece.
For most standard print products, the bleed allowance is 0.125 inch on each side. A US business card that finishes at 3.5 x 2 inches, for example, should usually be supplied at 3.75 x 2.25 inches including bleed. The final card remains 3.5 x 2 inches after trimming.
The exact specification can vary by product and production method. Large-format banners, contour-cut stickers, labels, and packaging may use different allowances. Always use the product template or requested file specification before exporting your artwork.
Bleed, Trim, and Safe Area: The Three Lines to Know
Print-ready artwork is easier to prepare when you separate three different boundaries: the bleed line, trim line, and safe area.
The bleed line sits outside the finished size. Any background image or color meant to reach the edge must extend to this line. This area is printed but removed during trimming.
The trim line is the final cut size. It marks where the printer intends to cut the product. Since a small amount of cutting variation is normal, do not place essential text or logos directly on this line.
The safe area sits inside the trim line. Keep phone numbers, addresses, QR codes, prices, small logos, and other critical details within this area. A common rule is to keep important content at least 0.125 inch inside the final edge, although some products need more room.
A simple way to remember it: backgrounds go through the bleed, the cutter follows the trim line, and important content stays inside the safe area.
When You Need Bleed in a Print File
You need bleed whenever artwork touches the edge of the finished product. A navy business card, a restaurant menu with a food image running to the edge, or a postcard with a full-page photograph all need bleed.
If your design has a plain white background and all text, graphics, and borders sit well inside the final size, bleed may not be visually necessary. However, supplying a file with bleed is still often the best practice because it aligns with standard commercial print workflows.
Borders deserve extra attention. A thin border placed close to the edge can look uneven even when bleed is included. That is because a small trim shift becomes more visible when the design depends on equal spacing. If a border is essential, move it farther inside the safe area and make it slightly thicker. For very precise edge treatments, discuss the product and finishing method before ordering.
How to Set Up Bleed for Common Products
Most design software lets you enter a bleed value when creating a document. Set the final trim size first, then add the requested bleed on all sides. Extend all edge-to-edge artwork to the outer bleed guides.
For a standard 3.5 x 2-inch business card, build the document at the final size and apply 0.125-inch bleed on each side. Keep names, titles, contact details, and logos inside the safe area. A dark color field or image can extend all the way through the bleed.
For an 8.5 x 11-inch flyer, the final trim size stays 8.5 x 11 inches. With 0.125-inch bleed, the supplied artwork size becomes 8.75 x 11.25 inches. The same approach applies to brochures and folded pieces, but folds add another consideration: panels may not always be identical widths. Use the correct fold template rather than assuming every panel is equal.
For stickers, bleed is especially useful when the design uses a colored background or photo. Die-cut and contour-cut shapes can require a larger cut tolerance than square print pieces. Keep fine details, lettering, and QR codes comfortably away from the cut path.
Banners and signs can be different. Hemming, pole pockets, grommets, and mounting hardware may cover parts of the printed area. In those cases, ask for the product-specific safe area and finishing requirements. A full-bleed image is only effective if important details are not hidden by the final finishing process.
Exporting a Print-Ready PDF With Bleed
A PDF is commonly used for commercial printing because it preserves layout, fonts, and vector graphics when exported correctly. Before saving, check that the document uses the requested dimensions, includes bleed, and has no unintended white edges.
When exporting a PDF, choose the option to use document bleed settings. If your software offers crop marks, only add them when requested. Crop marks can help identify the trim position, but they are not a substitute for actual bleed. A file with crop marks but no extended background can still produce white edges.
For best output, use high-resolution images. A typical print target is 300 DPI at final size for photographs and raster graphics. Low-resolution images can look soft or pixelated, and adding bleed will not improve image quality. Vector logos, text, and icons are generally preferred because they remain sharp at different sizes.
Color settings also matter. Commercial print is commonly produced in CMYK, while screens display RGB. Bright neon-like screen colors may print differently, especially on uncoated stocks. If color accuracy is critical for a brand, use approved CMYK values and consider the paper stock, lamination, or finish when reviewing expectations.
Common Bleed Printing Mistakes
The most frequent mistake is extending the background to the trim line but not beyond it. The design looks correct on screen, yet there is no room for cutting tolerance.
Another common issue is placing text too close to the edge. Even if no text is cut off, it can appear cramped after trimming. A clean margin makes business cards, certificates, menus, and promotional postcards easier to read and more polished.
Designers also sometimes stretch a low-quality image outward just to fill the bleed. This may create a blurry edge or reveal unwanted parts of a photo. Start with an image large enough for the final trim size plus bleed, then crop it intentionally.
Finally, do not confuse bleed with a white border added as part of the design. A deliberate border is inside the trim area and needs careful spacing. Bleed is outside the trim area and disappears after production.
A Quick Pre-Order Check
Before submitting a file, confirm that edge-to-edge backgrounds extend past the trim line, essential content stays inside the safe area, and your PDF is exported with bleed enabled. Check the final size, image resolution, and product template as well.
For recurring items such as business cards, invoices, stickers, menus, and flyers, save an approved master file with the guides in place. It reduces rework when you update a phone number, promotion, price, or staff name. A few minutes spent setting up bleed correctly helps every printed piece arrive looking intentional, right to the edge.